
Shur-Line Paint Edger

The Pros: The cutting-in tool made going around the edge of my closet and the windows (areas that are not bordered by trim or moulding) a cinch - it created a nice and even border with no dripping. I would estimate it saved me a good 45-60 minutes on those areas.
The Cons: Despite my best efforts to not get any paint on the little wheels, I did, and that resulted in some smears of paint on the moulding and base board as I went around the top and bottom of the room, requiring some extra time to wipe down the smears with a paper towel. I would estimate this only cost me about 15 minutes of extra time since I probably would have had some smudges if I cut-in with a regular angled brush anyway. Also, there were some areas that were too small for the tool to fit in, so I had to use the angled brush on those anyway.
Final Verdict: I would definitely use this again for painting around windows and closet doors without trim, but would probably opt for a regular angled brush instead for any areas bordered by trim or moulding. Helpful, but not necessary. If you don't own one already I wouldn't specifically recommend buying one for your next painting project.
Paint-N-Roll Plus
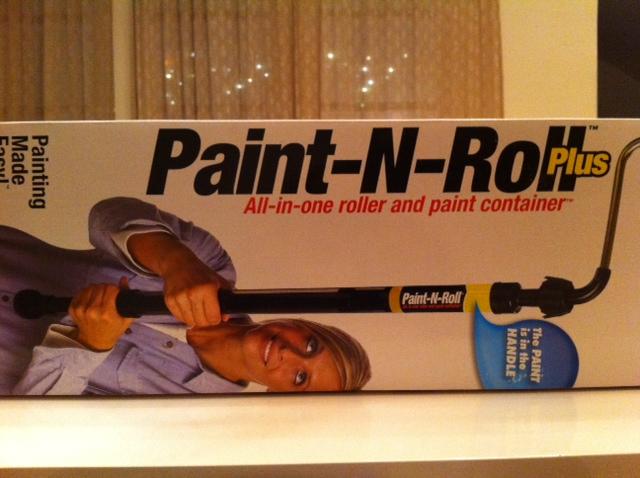
The Pros: Not having to constantly dip my roller into the paint tray was a nice reprieve, and I had almost no splattering, which usually happens once or twice if I overdip when I use a regular roller.
The Cons: This roller required a lot of paint be added to the handle in order for it to paint a full and smooth stroke on the wall, so it took a while to get going and I had to refill the roller several times. Also, other than a sweet spot directly in front of me, getting enough pressure behind the strokes near the ceiling and floor was a challenge. I still ended up with sore arms and shoulders the next day. And at one point, the roller came apart from the handle, resulting in a bunch of paint splattering on the floor (of course this happened right when I was painting above a mass of cords and cables, but that's not the paint roller's fault.) Clean-up was also a pain, since instead of just tossing a paint tray and washing a roller (if I'm not inclined to just throw it out and replace) I had to wash the roller, the handle, the inside of the roller, and the lid that you attach to the paint can.
Final verdict: Although it was nice to not have to dip the roller every few strokes and avoid the splattering I usually get, I don't think this saved me any time or effort once I factored in the extra strength required to paint above and below me, the spill on the cords and the additional pieces to clean-up. I say stick with the regular roller (with a long arm) and paint tray and you'll get the same results on the walls in less time.
Disclaimer: I do realize that I only tried one of each type of product, and there may be others on the market that do the same thing, but better. This is just my opinion of these specific products that I tried.
In the end the room came out beautifully, and I'm happy to have it finished and checked off the list. Have you tried any painting contraptions or techniques that you'd like to share?
No comments:
Post a Comment